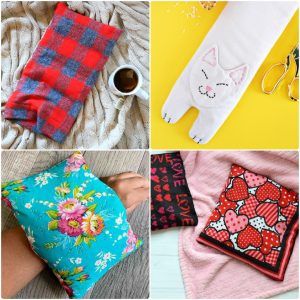
- 25 Free DIY Rice Heating Pad Patterns
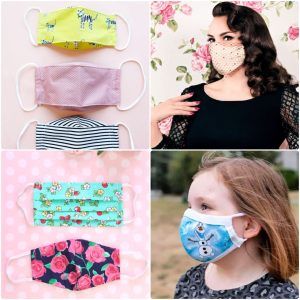
- 40 Free Face Mask Patterns + Printable Sewing Pattern PDF
- 30 Free Dress Patterns For Women – Dress Sewing Patterns
- 40 Free Top Sewing Patterns – Patterns for Women’s Tops
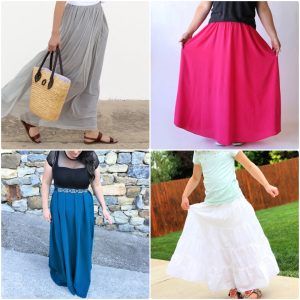
- 25 Easy To Sew Maxi Skirt Pattern Free
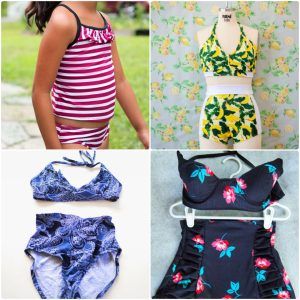
- 18 Free Bikini Sewing Patterns
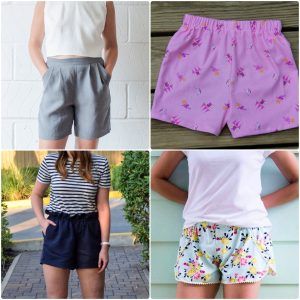
- 25 Free Shorts Sewing Pattern – PDF Shorts Pattern
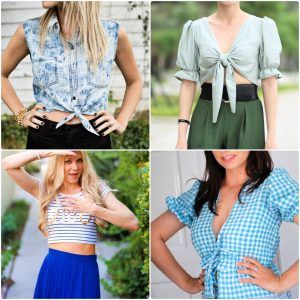
- 25 Free Crop Top Sewing Patterns for Beginners (PDF Pattern)
- 20 Free Wrap Top Patterns – Wrap Shirt Pattern