If you're looking for free sewing patterns for tops that are both stylish and easy to sew, look no further! In this collection of 40 free top sewing patterns for the spring, summer, and fall, you'll find a variety of different styles, including casual t-shirt patterns, Crop tops, summer tops, simple shirt patterns and more formal blouse sewing patterns. And best of all, each of these women's top sewing patterns can be downloaded for free. So whether you're a beginner or a more experienced sewer, you're sure to find a top sewing pattern that's just right for you. So what are you waiting for? Start browsing your free sewing patterns for tops, and let your sewing creativity flow!
Sewing has to be one of the most practiced forms of activity. If you love to sew, these free sewing patterns for tops will up your style game! It has brought about advancement in the living standards of millions of people while also aiding in the advancement of people from simple rag-like clothes to countless different pieces of clothes. These free sewing patterns for tops are just the ideas you need to make a pretty-looking top with minimal effort. Tops are the most seen part of an outfit, and women like to pay special attention to the type of dress they’re wearing. This article will be a great help if you’re one such person.

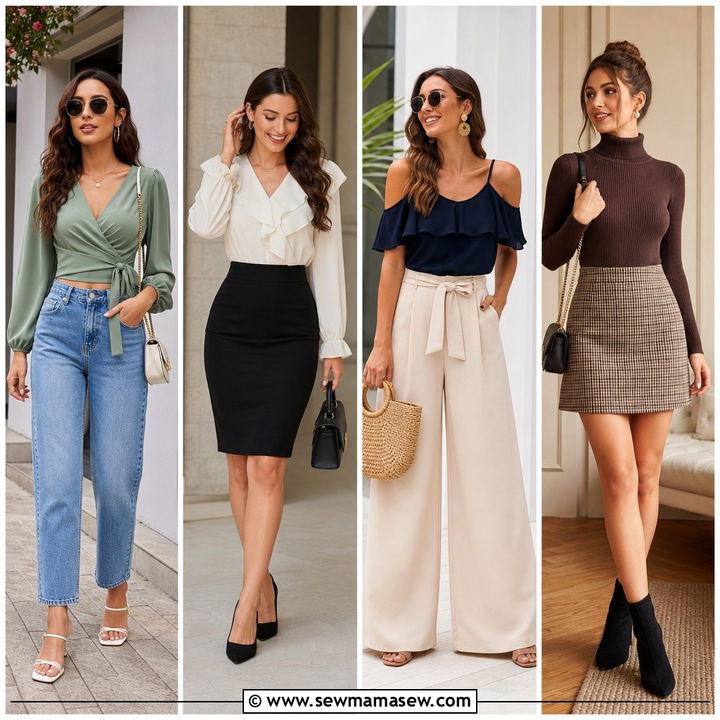
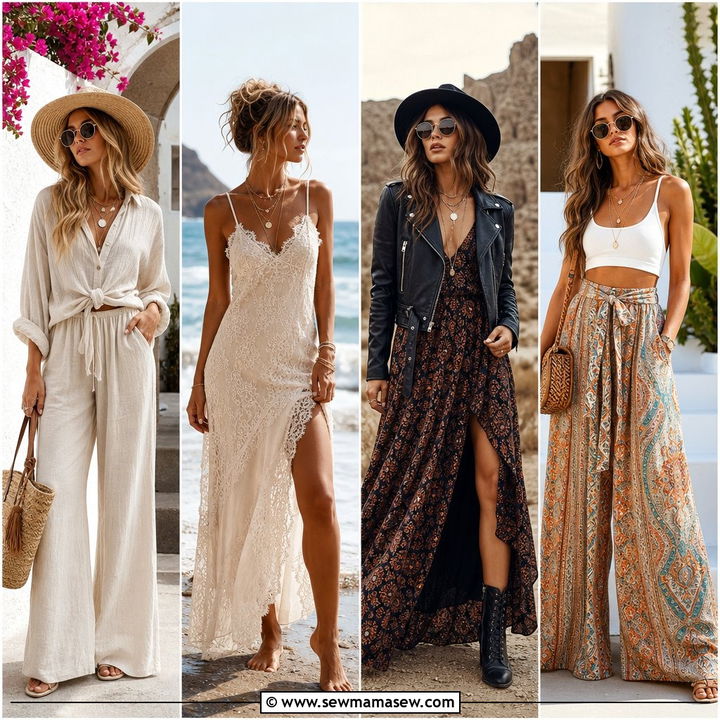
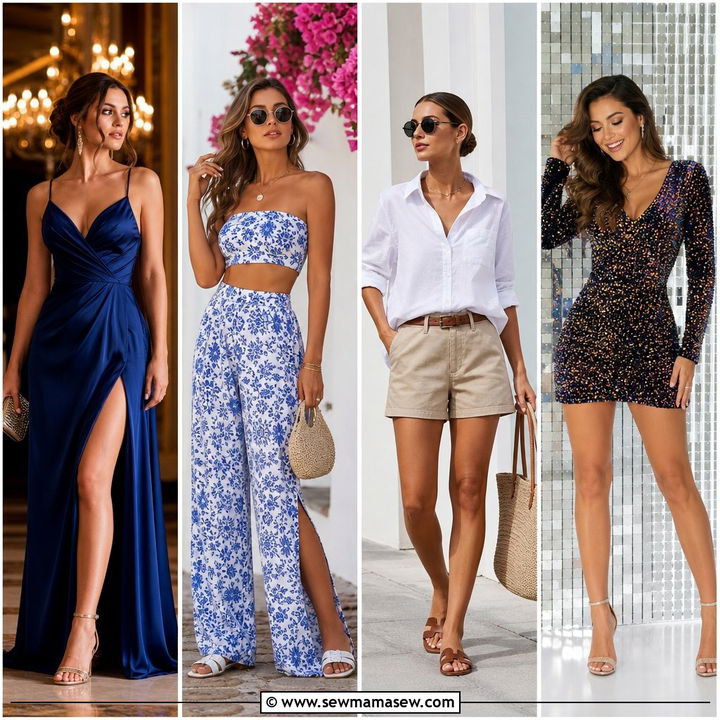
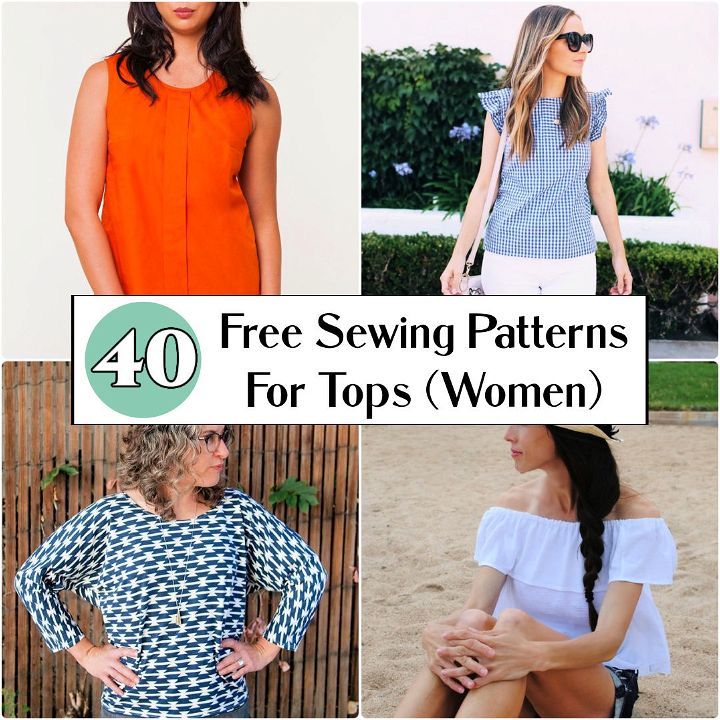
Free Sewing Patterns for Tops
Dig in these so many different free sewing patterns for tops that can bring about a real change in your outlook. You can go with a floral, gingham drop waist or summer top to match your mood. These free sewing patterns for tops are specially selected so you don’t go out of style and always look fresh. Sewing is certainly a great way to pass the time, too and one of the most useful skills to have. Fashion designers are one of the most looked after people in the industry. So, update your fashion with these sewing patterns for women's tops.
1. Easy Gingham Flutter Sleeve Top Pattern
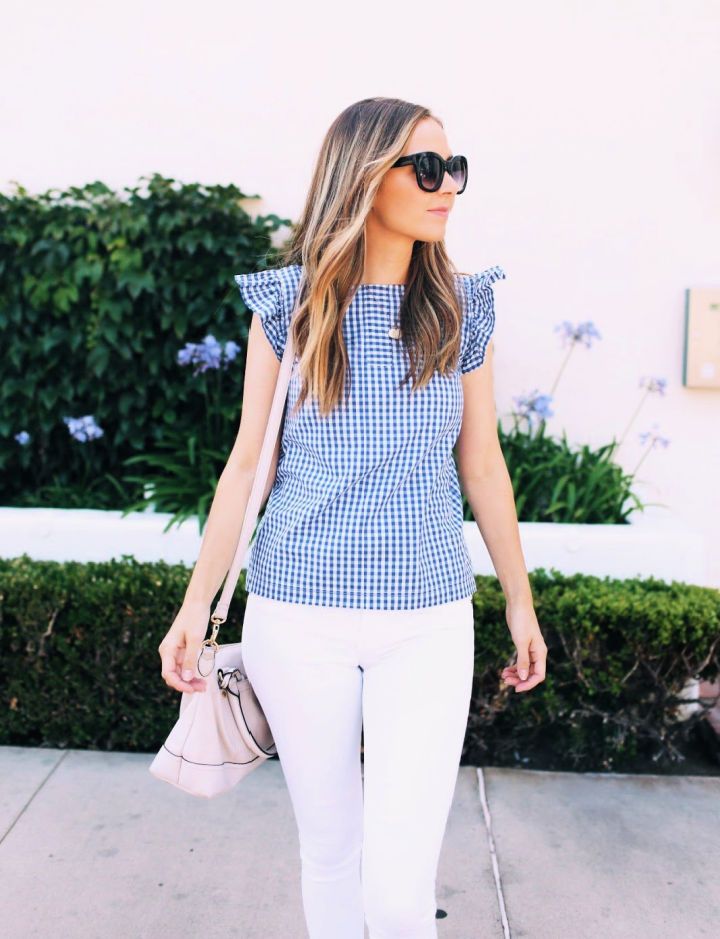
A very neat and casual look! This type of print is really in demand, and flutter sleeve is also in trend. With a few pieces for the back and front, you can sew together an elegant top. Then take the neckline lining pieces and sew them together to form a circle. Complete the dress by hemming together the bottom of the dress. merricksart
2. Cotton Sorbetto Top Sewing Pattern

Another classic look that is inspired by the early 1960s. It has a beginner-intermediate skill level, to begin with. You can choose from three versions, the first one having a center front box pleat and bust darts for shaping. Another one is with a finished scoop neckline and armholes. Another version includes short set-in sleeves. seamwork
3. The Flora Blouse - Free Pattern
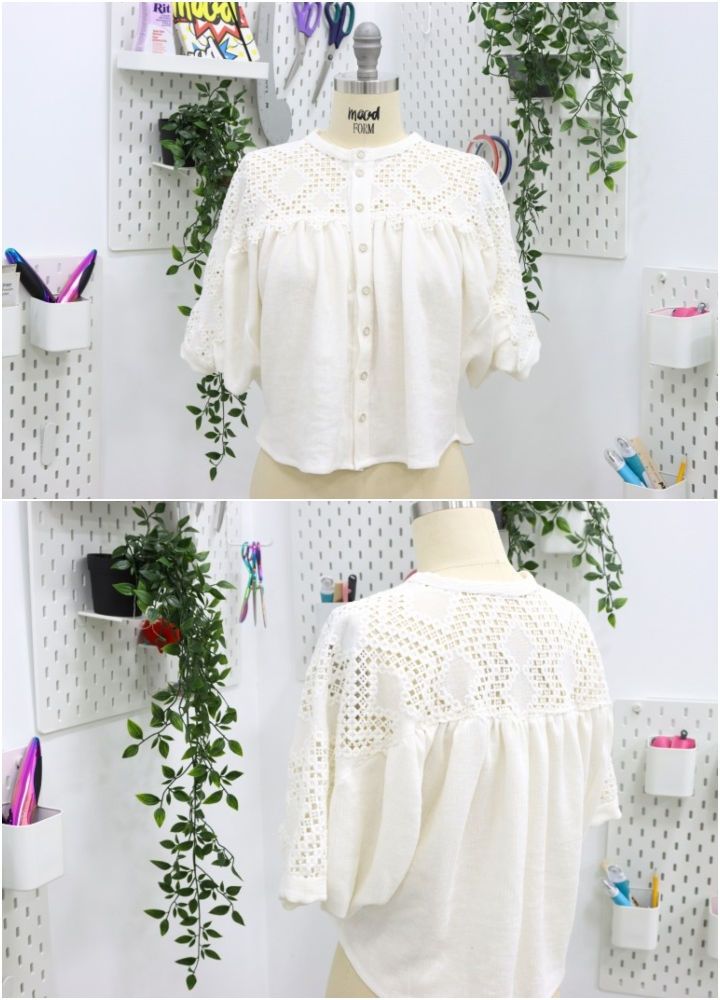
This one is a nice blend 19th century clothes with modern ones. It used one yard of cotton blended lace and 2 yards of crinkled linen and rayon gauze. It also has a list of fabrics you can choose from. There are plenty of sizes you can choose from. It uses a French seam to make the curved edges of your sleeves. Along with the top edges, use a ¼’ rolled hem to finish it. Open the link to get started! moodfabrics
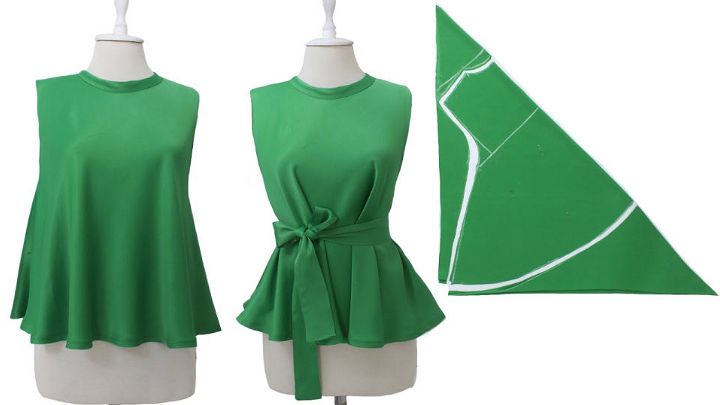
4. How To Make A Tie Front Top
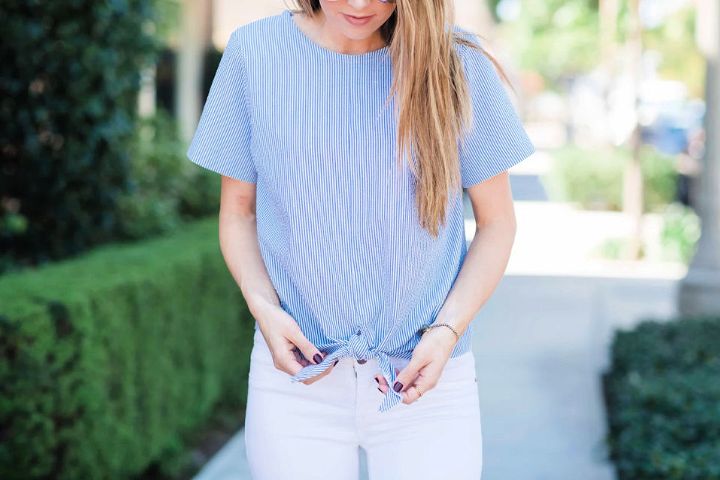
A front tie top is always in fashion! A perfect top for the hot summer days, this will require 11/2 yards 60” fabric. You can cut the pattern pieces according to the back, front, sleeves, and neckline lining. You have to figure out how to place the right pieces together to make the whole dress. It is worth the effort! merricksart
5. Peasant Top Sewing Pattern

A top that looks and gives a soft and nice feel. Pleasant tops are always well-liked. This version has a deep neckline, front pleat and darts and quarter bell sleeves. The fabric used is royal blue viscose. A light, loose cotton is usually used for this as it gives a floral and dirty touch. Click on the link to see how it looks! sewdifferent
6. One Hour Top - Free Pattern
Perfectly made in no time. It is a simple free sewing pattern for tops that can be made with only two pieces; you will have to use a serger and sewing machine with a twin needle to give a finished look. It will require 1-¾ yards of medium knit fabric with coordinating thread. fancytigercrafts
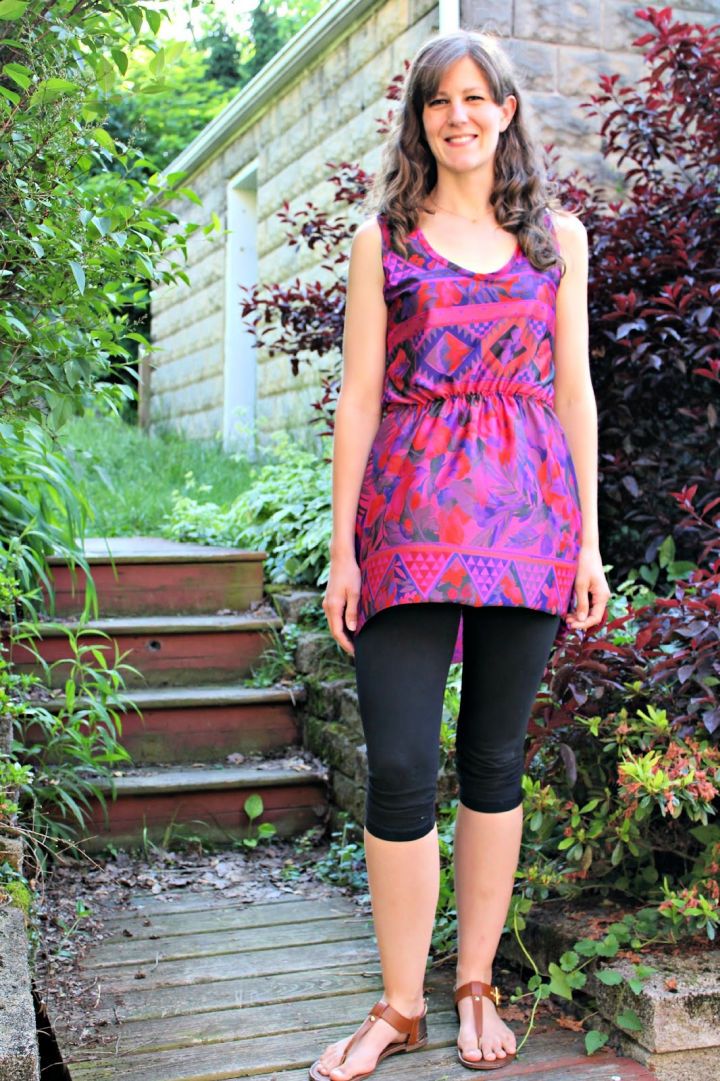
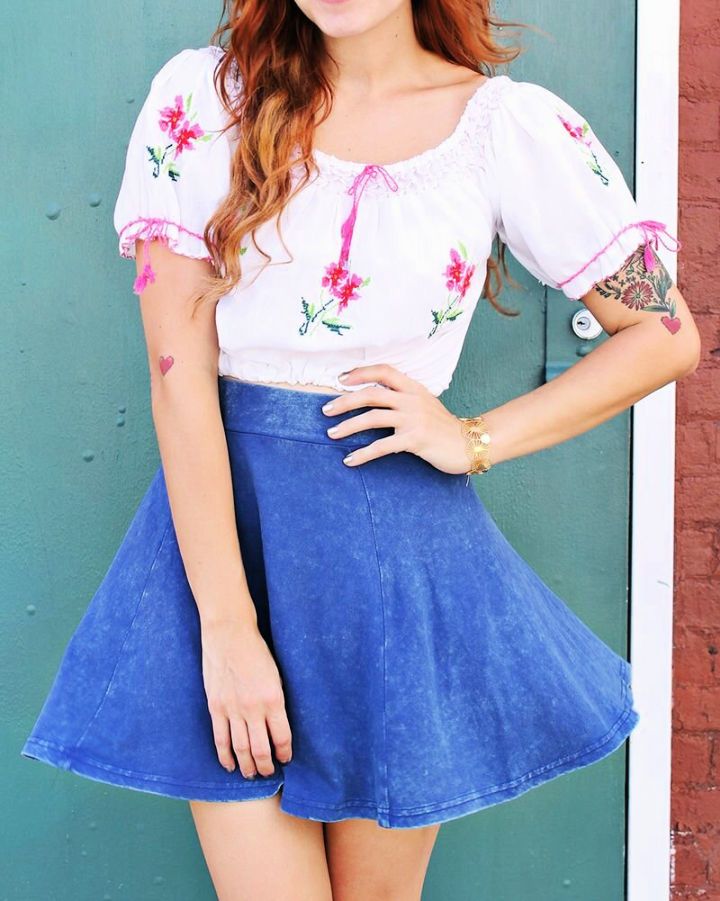
7. How To Sew A Gingham Drop Waist Peplum Top

Another amazing Gingham drop waist peplum top. It goes with many things, and it's always in style. You will need 1-yard fabric with a zipper or button. Cut the pieces and match them to the dress to sew them together. The finished look would be a sight to behold, good luck! merricksart
8. Summer Top Sewing Pattern
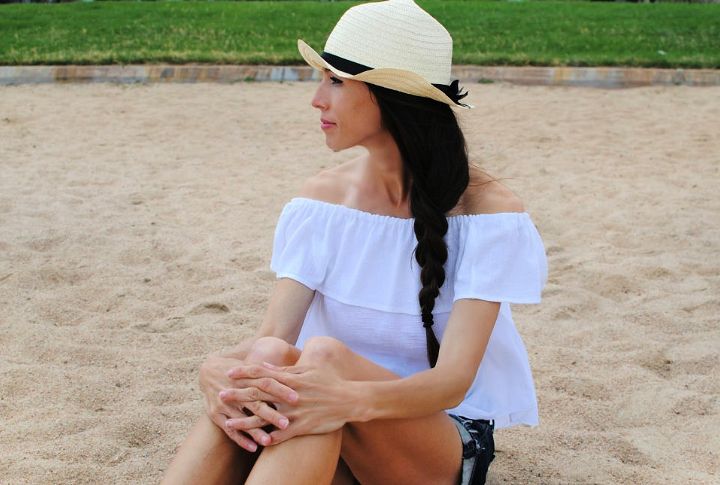
Summer is in full force nowadays, and this off-the-shoulder ruffle top is the best summer top out of these! Supplies include a sewing machine, elastic, lightweight fabric, white cotton thread and cutter. Lay out the dress pieces according to the patterns and join them together with the sewing machine. Now that’s neat! trashtocouture
9. Women's Top Sewing Pattern
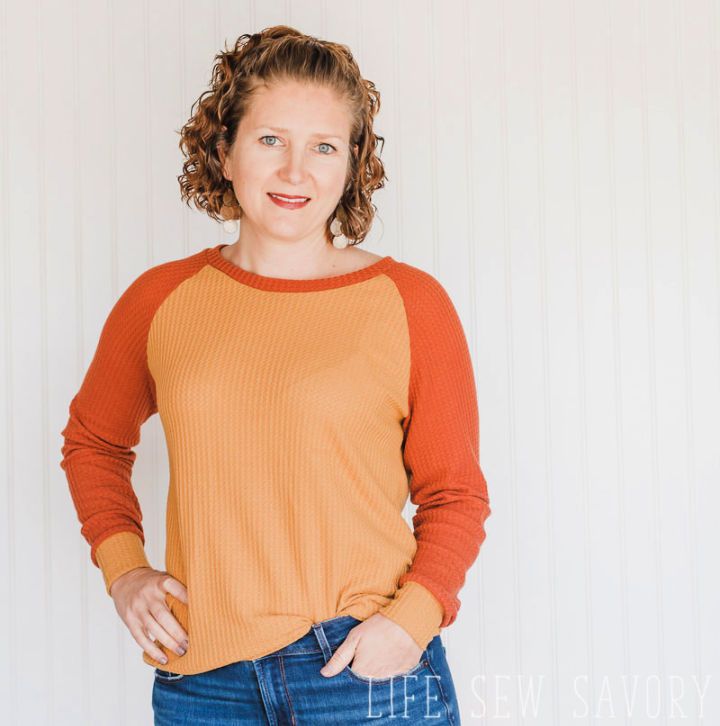
A comfy dress, women’s raglan free sewing pattern. This one has two different colors and fits really well. Notably the fabric is of 1-1.5 yards with a 1 cm seam. You will have pieces such as two-sleeved, one front, one back and a neckband. The sewing can be done with a sewing machine, and you’re done! lifesewsavory

10. Scooped Hem Blouse - Free Pattern

This one rocks a skipped hem blouse with puffed sleeves. It uses 1-yard fabric of medium to heavy weight knit fabric and matching thread. It has a bodice front with back, necklace lining and 2 sleeves. You’ll have to sew the front and back pieces together at the shoulder seams with long threads. Attach the sleeves and the neck lining; all done! merricksart
11. Cool Flutter Sleeve Sewing Pattern
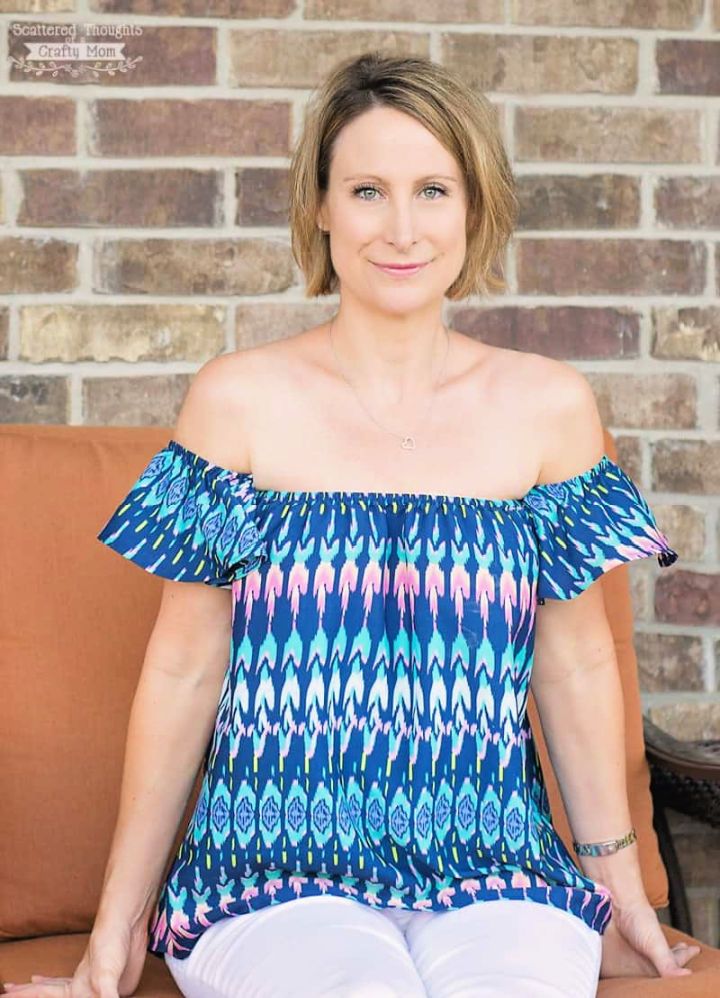
A rather nice look for summer evenings! This is an off-the-shoulder flitter top. This one has a nice ruffle look and is really easy to make. You can use a slinky, stretchy knit fabric or gauze fabric for this. Allow a 2/8 seam of this and use light fabrics. You can increase or decrease the waist level above or below the hip. scatteredthoughts
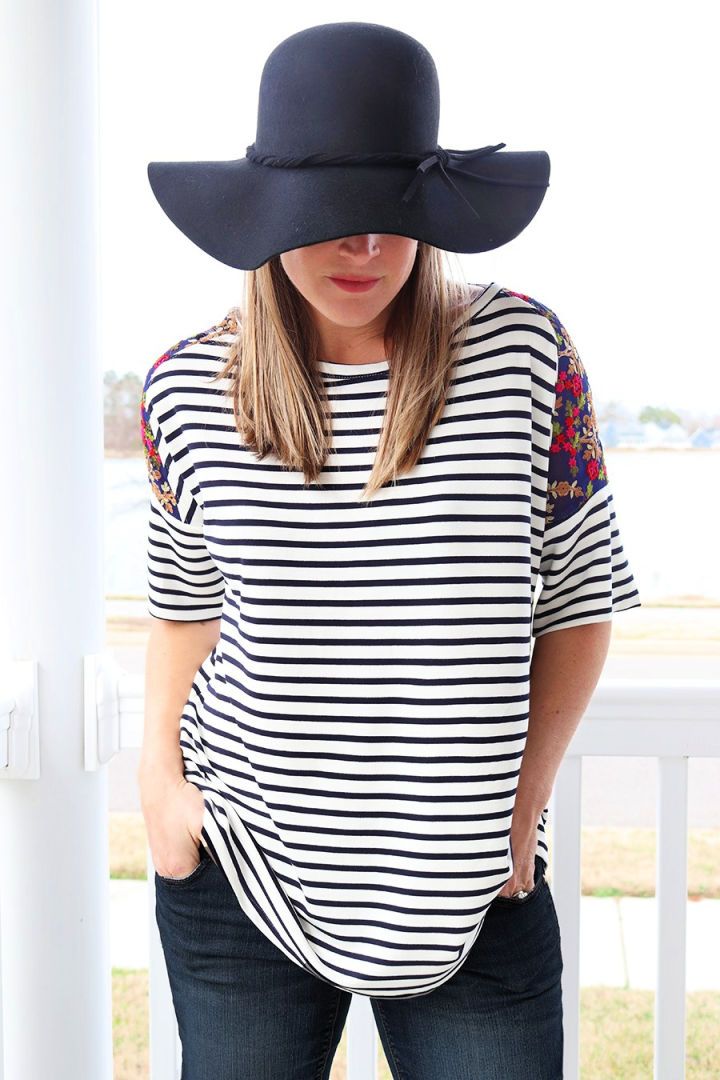
12. Bell Sleeve Top Pattern For Ladies
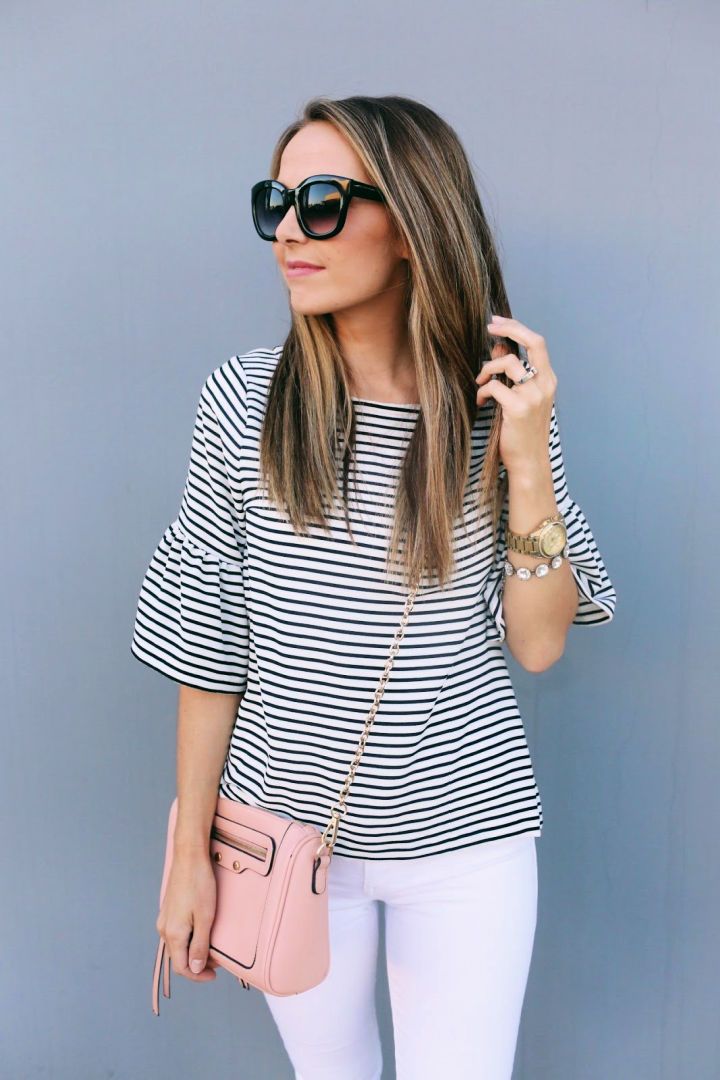
Try out a bell sleeve top in this tutorial. You can go with the short sleeve to make it look even more stylish. This one used striped fabric for the chic look. After inserting drafts into the front piece, sew it together with the back one. Hem the ruffle pieces to the long sides and leave them long. Try it out and open the link! merricksart
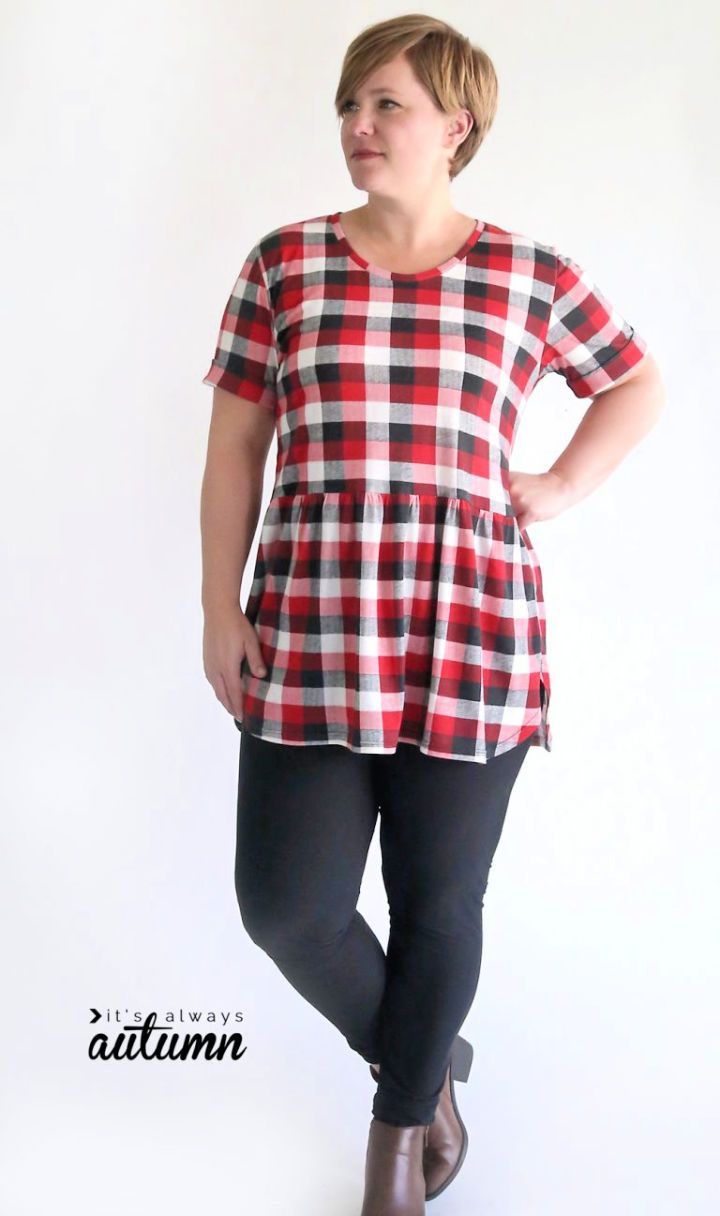
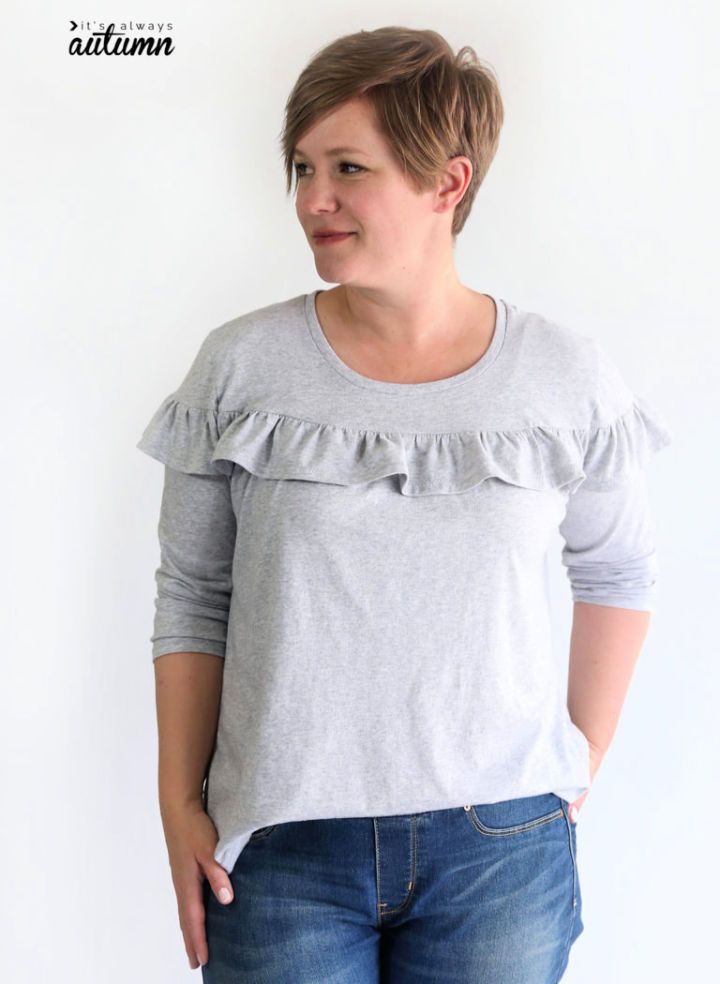
13. Women's Shirt Pattern
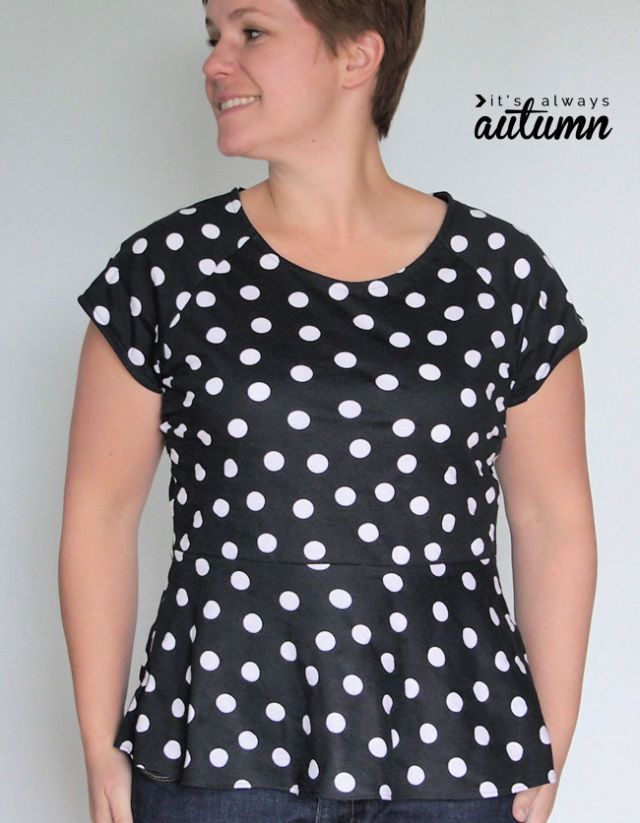
A really nice-looking type of peplums that consists of gathered fabric to the bottom part of the shirt. It creates a kind of house glass look. It will require you to work with 1-1.5 yards of fabric. The whole thing will be curved from the waist. End it with finishing the neckline and sleeves. itsalwaysautumn
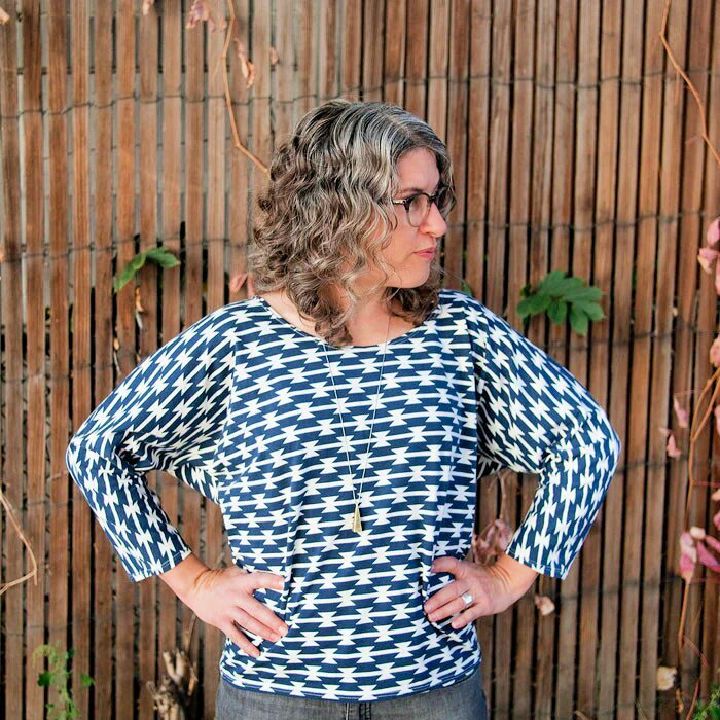
14. DIY Embroidered Raglan Dolman Top
Get started with the easiest dolman top with vibrant colors and perfect thread. The skill level for this is an advanced beginner with 2-3 hours of work needed. Materials will be 2-2.5 yards of knit fabric, coordinating woven pins and a sewing machine. It has a nice look from the get-go, so get started! mesewcrazy

15. Classically Simple Shirt Pattern

A simple yet pretty dress with this tutorial. It will only take an hour to make. Just get started with the template tracing your shirt from the front and back. When you have all the personal traced pieces, attach the pieces, and sew them according to the pieces. It can be accessorized with beads. thestitchingscientist
16. How To Sew Open Shoulder Blouse
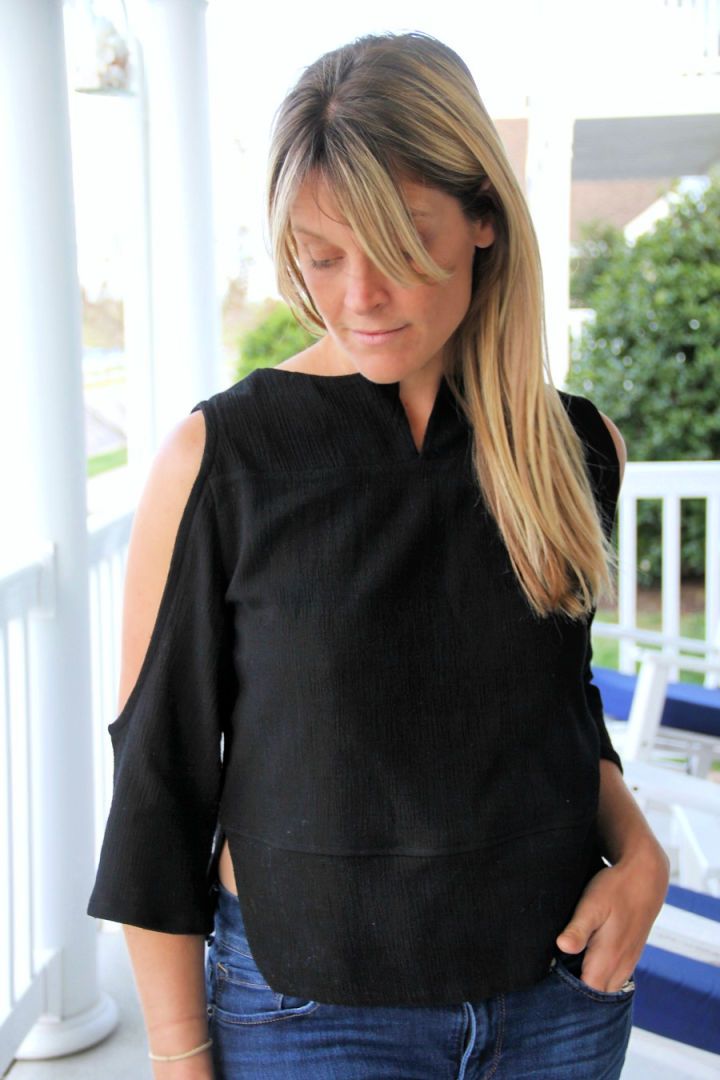
Another free sewing pattern for tops with an open shoulder. It has a curbed bottom band and a front yoke slit. You will require 2.25 yards of woven fabric with a nice fitting shirt to trace for your top. With the dimensions of the front and back pieces, match them on the fabric and sew them together. It will create a seamless-looking wonder! mesewcrazy
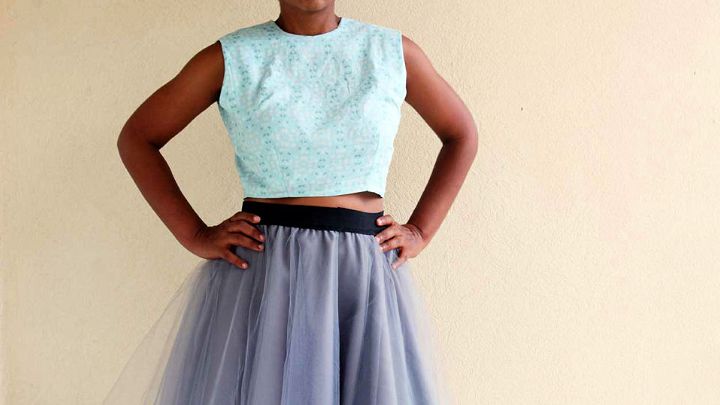
17. Trendy Crop Top Pattern
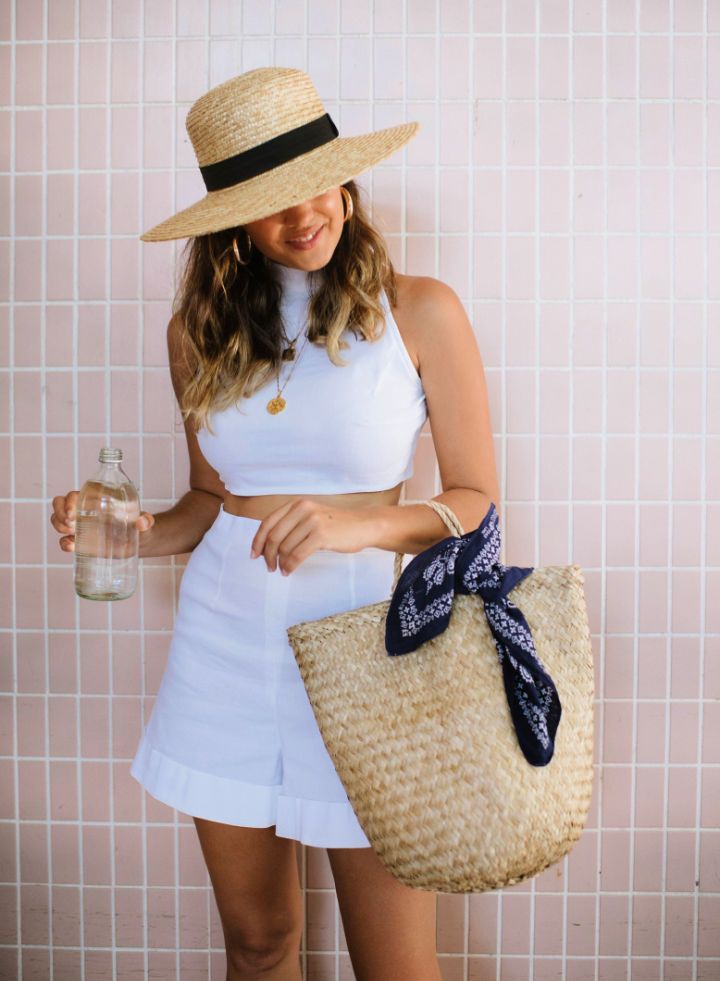
A white crop top with high-waisted shorts. It will require 1.5 meters of fabric, invisible zipper pins and a sewing machine. Use a shirt to use as a base for tracing the outline. Cut out the pattern and bring it to the desired length. Lastly, the collar can be cotton-up style exactly fitting your needs! collectivegen
18. Women's High Low Racerback Tunic Sewing Pattern
This is a high-low racerback tunic DIY top that is appropriate for either comfy or chic wear. The first part begins with cutting out the pieces from your front and back. With the piece’s cutout, move over to the assembly, and sew them in the right way. Click on the link to see how it looks! mesewcrazy
19. Free T-Shirt Sewing Pattern

A clean and nice free sewing pattern that can be made in no time. It has a bright pink color that catches the yes. A few tips included in it are to stitch the backline and shape your bias tape before you start stitching it onto the neckline. See the photos and video tutorial to get the full idea before trying it out. mellysews
20. Ladies Sleeved Sorbetto Top Design
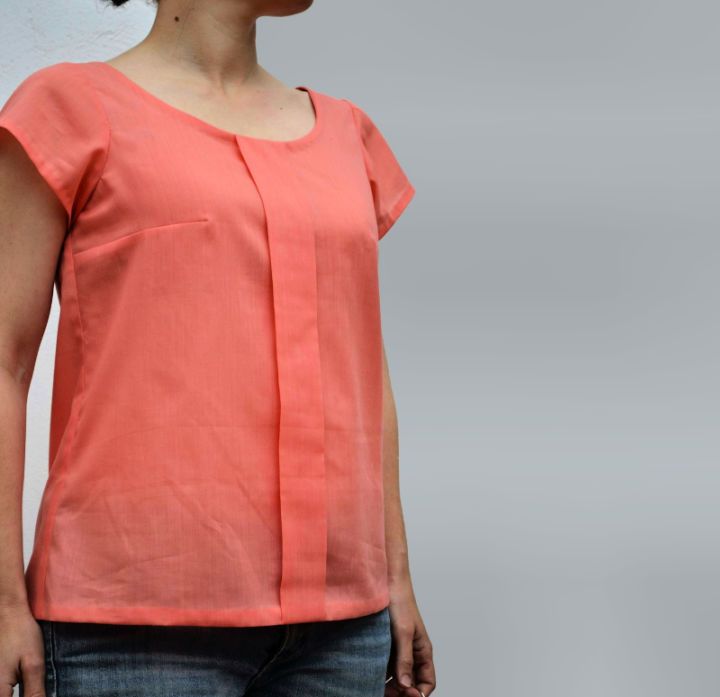
A sleeved sorbetto top that can be sewn very quickly with nice peach color. It has a medium neckline with a lightweight fabric that is loosely fitting against the body. You can open up the link to see various references used. It is truly a unique look! lainglesita
21. The Vallea Tunic Sewing Pattern
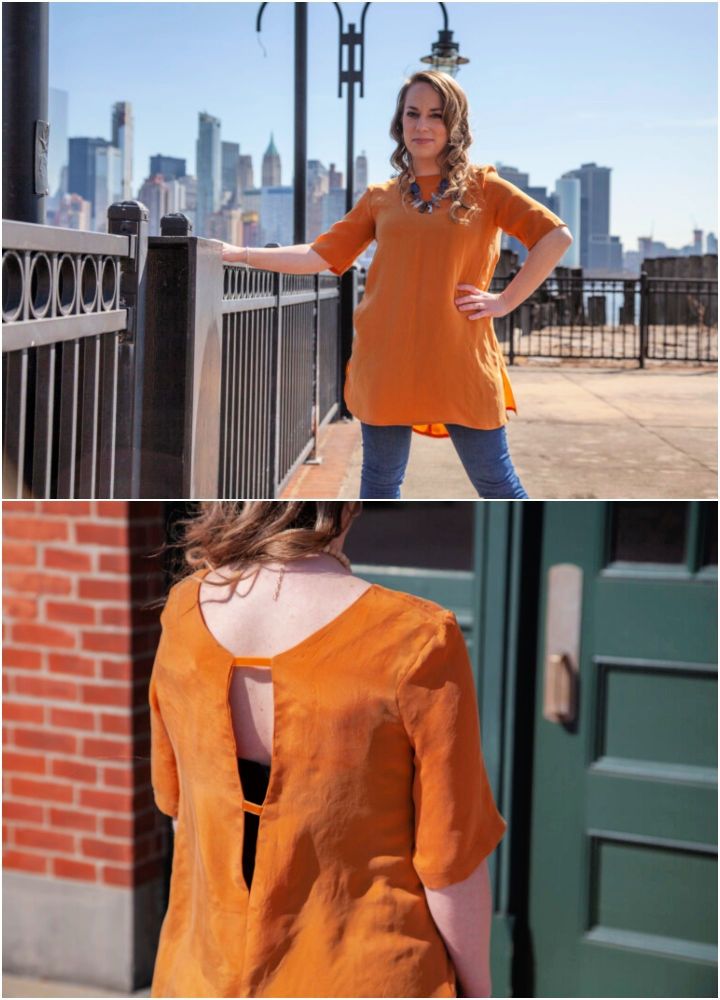
This vallea tunic shirt can be the best fit for the summers! This sewing pattern consists of an orange-colored shirt that is backless in a V-shape, enhancing the beauty of the orange color. You can maximize the colorfulness of your wardrobe with this free sewing pattern. Click on the link mentioned below and get started! moodfabrics
22. Capri Peplum Summer Top Sewing Pattern

Peplum tops have emerged to be the new trend recently and have really helped women in enhancing the beauty of their shirts! This is what you will learn to sew with this free sewing pattern; a floral peplum top. To sew this ancient Greek top, you would need some silk, an invisible zipper, and other materials. So, let’s get started! so sew easy
23. Free Sewing Pattern For Top
Pastels can be the perfect colors for the summers, adding some calmness to your wardrobes! From this free sewing pattern, you will learn to sew a pastel blue-colored top that is sleeveless and hence goes perfectly with the weather. Some supplies needed for this one would include the cotton fabric and some pins. So, get started! happiestcamper
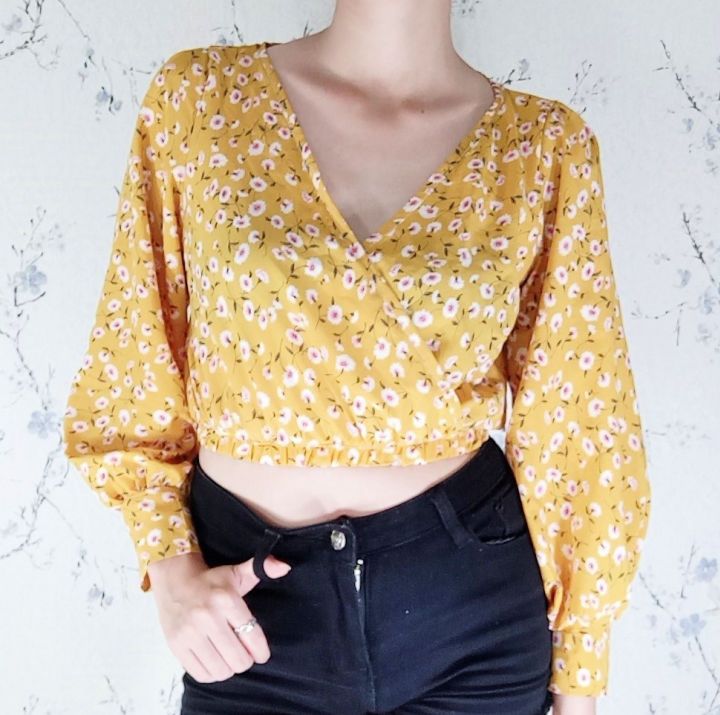
24. The Faux Wrap Top Pattern

With this free sewing pattern for tops, add some simplicity to your wardrobe with solid-colored tops! You will learn to sew a faux wrap top in the navy-blue color. To go about this one, you will have to make use of the knit fabric, which will make it easy for you to sew this trendy yet simple top. To have a better look at this, follow up! onthecuttingfloor
25. The Trudie Top Sewing Free Pattern
The Trudie top has emerged to be one of the most-trendy fashion recently, and it does make sense as to why women love this one so much! It just adds to the aesthetic of their summer wear. You would require some essential materials for this one like woven fabric, a loop turner, and some others too. Click on the link to see! thehemming
26. Easy Crop Top Restyle
Crop tops have really been able to make it to the limelight when it comes to the latest fashion trends! There has to be a reason for that, which includes the fact that they are so easy to style with any type of jeans. So, to sew this trendy crop top, you will need to have elastic, any alterable top, etc. For further details, head over to the link! abeautifulmess
27. DIY Wrap Bishop Sleeve Top
Bishop sleeves have been able to maintain an old-fashioned look in the new and upcoming fashion trends! From this tutorial, you will learn to sew this bishop-sleeved top and enhance your aesthetic clothes. The main materials needed for this one include a cotton-type fabric, elastic, etc. Follow up for more girls! thuzoediy
28. Shirred Top Sewing Pattern For Women
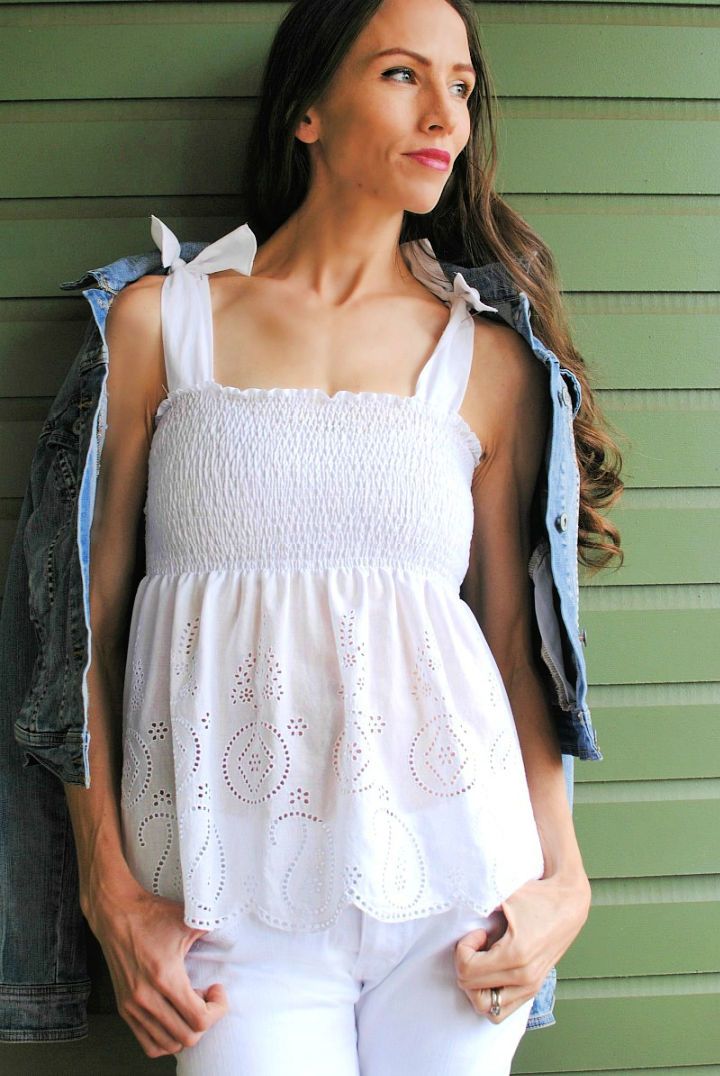
From this free sewing pattern, you will learn to create a shirred top for women, which is actually a very famous one when it comes to summer trends! The interesting part is that it can easily be paired with a jacket as well. The main supplies include a Dritz elastic thread, a light fabric like lighter cotton, etc. Get started, girls! trashtocouture
29. Easy Sew Peplum Top Pattern
Another sewing tutorial for the trendy peplum top, girls! A peplum top basically consists of a frilled fabric attached towards the bottom end of the shirt, which makes it look like a frock. The major supplies you would need for this sewing pattern include a sewing machine, light fabric, etc. Click on the link for more! itsalwaysautumn
30. Off The Shoulder Ruffle Top Pattern
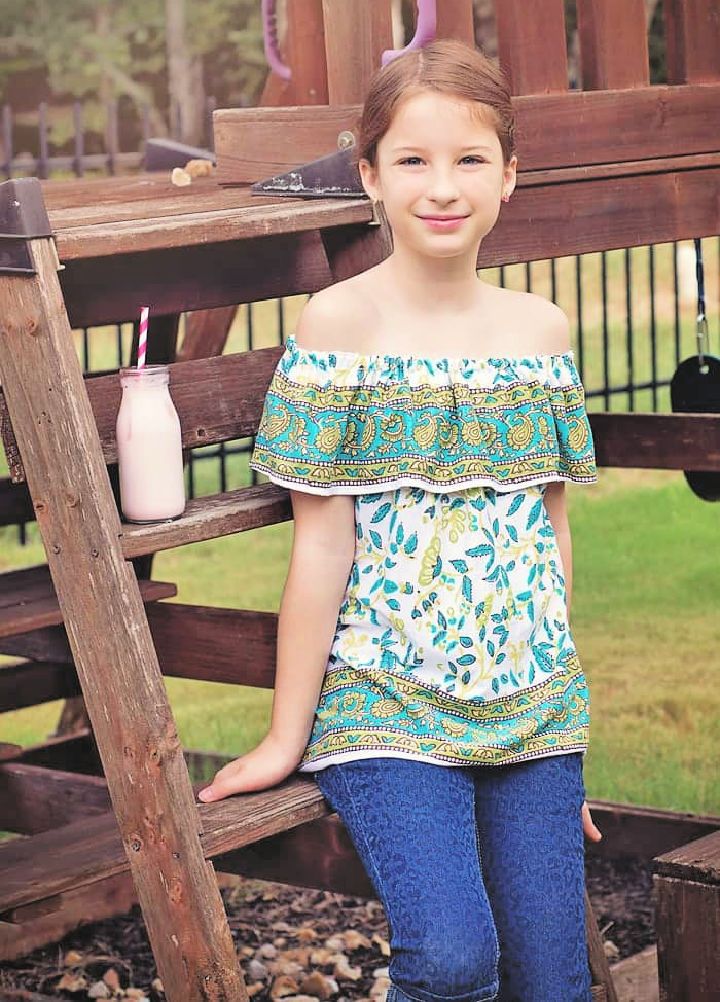
These off-shoulder tops can be a perfect fit for your summer wardrobe, girls! This is what you will learn to sew from this free sewing pattern; an off-shoulder ruffle top. This can be worn in multiple ways. However, you want to style it. The supplies needed for this one are any fabric, elastic, etc. Go have a look at this one! scatteredthoughts
31. Joyful Ruffle Neck Top Pattern To Sew
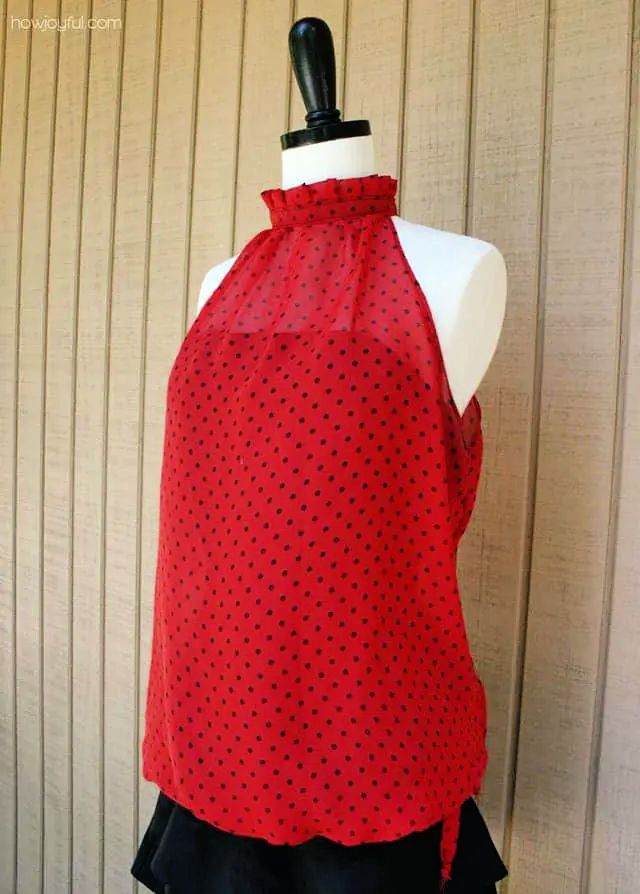
This sewing pattern is here to teach you on how to sew a joyful ruffle neck top, which is sleeveless and can actually be dressed in multiple ways during the summers! The fact that you can use any leftover fabric for this one is just the cherry on top. The supplies include any leftover fabric, a sewing machine, etc. So, let’s get started! howjoyful
32. Free Women's Ruffle Top Pattern
This one could be the perfect fit for your summer wardrobe! From this free sewing pattern, you will learn to create a ruffle top for women, and that too in a solid color, which basically adds to its beauty. The main supplies required for this one include any old fabric you think is unused, a sewing machine, etc. Get started, girls! itsalwaysautumn
33. Cute Cami Top With Tie Sleeves
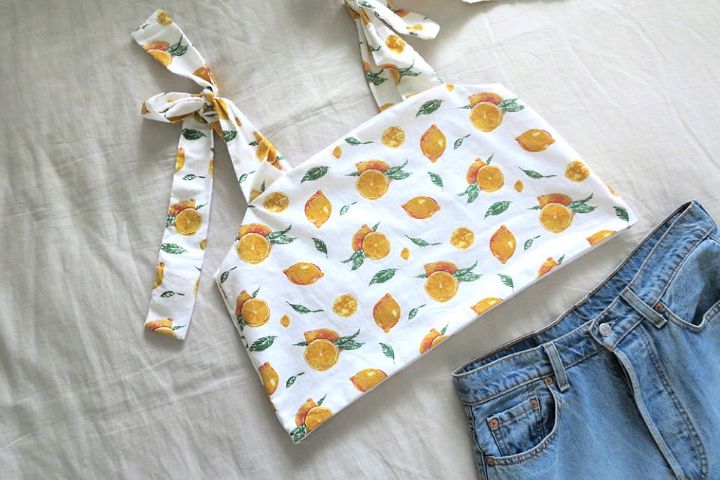
The patterns on your shirts or fabrics really do change your mood according to the weather! So, from this free sewing pattern, you will learn to create a lemon-patterned cami top with tie sleeves. The supplies needed for this one includes any light or flowy fabric, fabric scissors, etc. Click on the link for more details! theessentialsclub
34. How To Make A Loose Linen Top
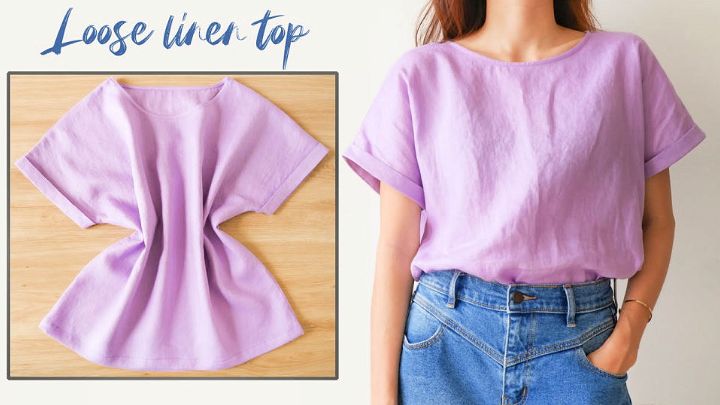
Nothing can beat comfort when it comes to following fashion trends. So, from this sewing pattern, learn to get comfortable in trendy clothes! You will be sewing a pastel-colored boxy linen top. The supplies needed for this one would include any washed linen fabric, fabric scissors, etc. So, start getting comfortable with us!
35. DIY Julia Crop Top
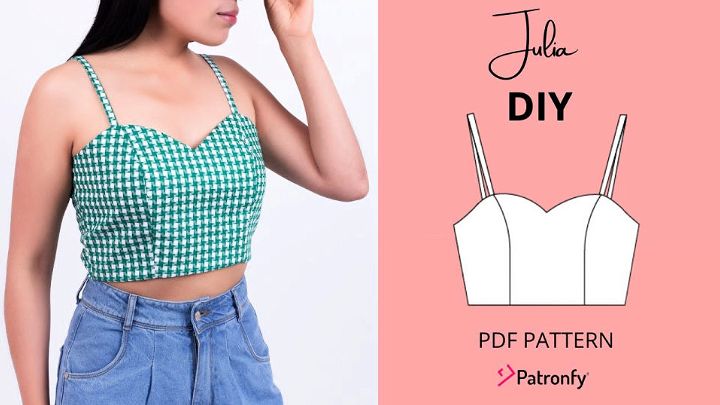
With this Julia crop top, enhance your summer wardrobe! So, this is what you will learn to create from these free sewing patterns; a Julia crop top with a sweetheart neckline and trendy spaghetti sleeves. You will need some supplies for this one, including any fabric for the shirt, a sewing machine, etc. Let’s get started!
36. Circle Top Cutting and Stitching
Circle blouses have been setting the trends for so long and remain to stay trendy! With this free sewing pattern, learn to sew a circle blouse at home in a rather budget-friendly way. The supplies needed for this one includes any solid-colored fabric, a sewing machine, fabric scissors, etc. Click on the link for more!
37. How To Make A Tank Top From Scratch

Tank tops are the easiest to style, as they can be worn with all types of jeans, be they mom jeans or flared or wide-legged. From this sewing pattern, you will learn to create a tank top from scratch. The fabric needed for this one is any knit/cotton spandex fabric, and you will need a sewing machine. So, what’s the wait for girls?
38. Free Halter Top Pattern
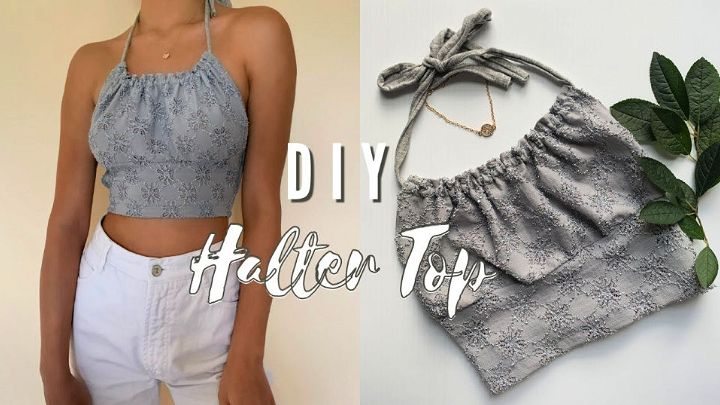
Learn to sew this amazing and trendy halter top and enhance the aesthetic of your summer wardrobe! This is what you will learn to do from this free sewing pattern. The interesting part is that you can use any leftover fabric to go about this idea, and then you will need a sewing machine for the sewing part. Get started now!
39. Free Button Up Shirt Pattern
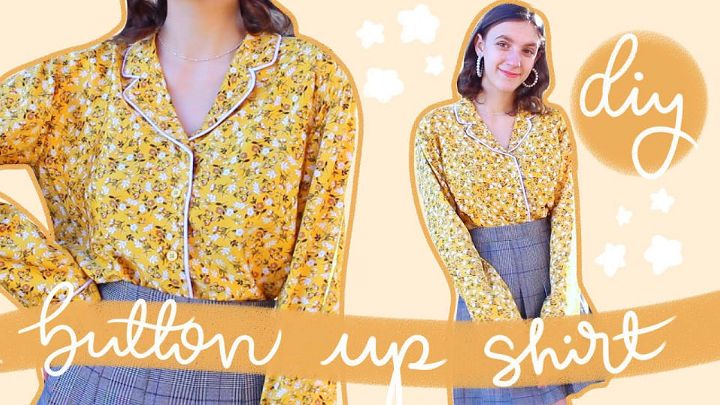
Feel like dressing formally? Don’t worry, girls, as we've got you covered! From this free sewing pattern, you will be learning to create a button-up shirt in a vintage-style revere collar. The main supplies needed to sew this one would include any light fabric, a sewing machine, fabric scissors, etc. So, start getting formal this summer!
40. Make Your Own Front Tie Top

These front-tie tops with puffy sleeves have really been trend-setting recently, and the fact that they look so aesthetic and eye-catching just maximizes their beauty! This is what you will learn to create from this free sewing pattern. The supplies include fabric, pins, measuring tape, etc. So, let’s get trendy together!
Related Free Sewing Patterns:
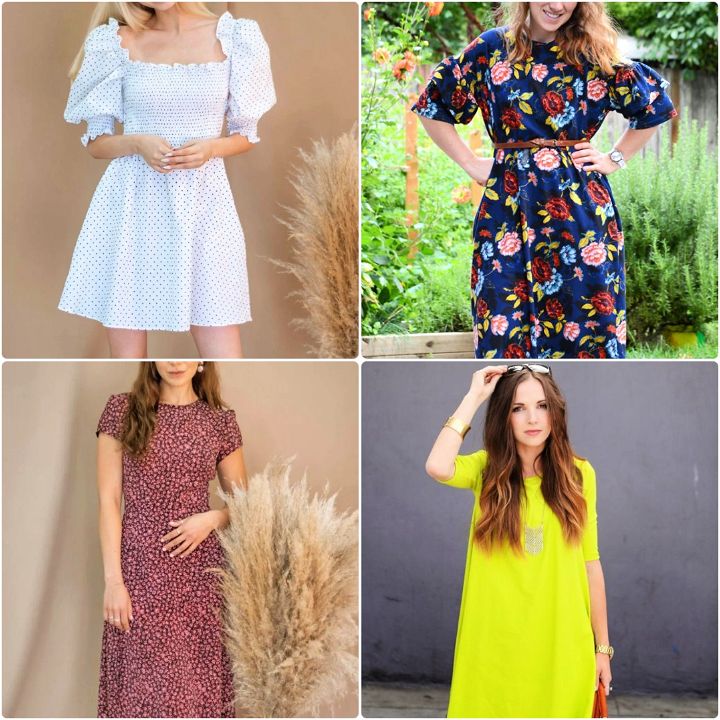
Free Dress Patterns
Looking for a free dress pattern that is easy to follow? Explore this roundup of free dress patterns, including pdf instructions. Our patterns are designed to be simple to sew, even for beginners.
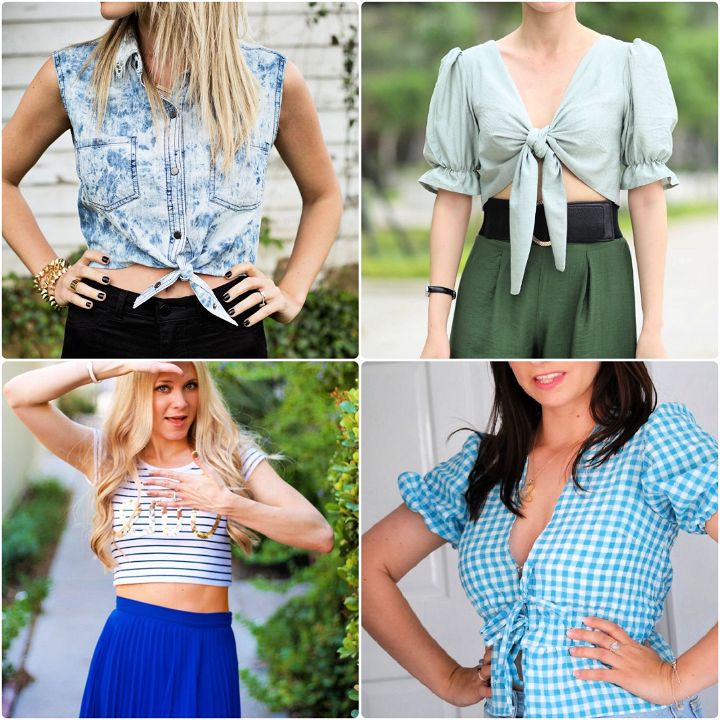
Free Wrap Top Patterns
Looking for a stylish and comfortable wrap top pattern? Look no further than these 20 free wrap top patterns! From simple designs to more intricate ones, there's a wrap top pattern for everyone.
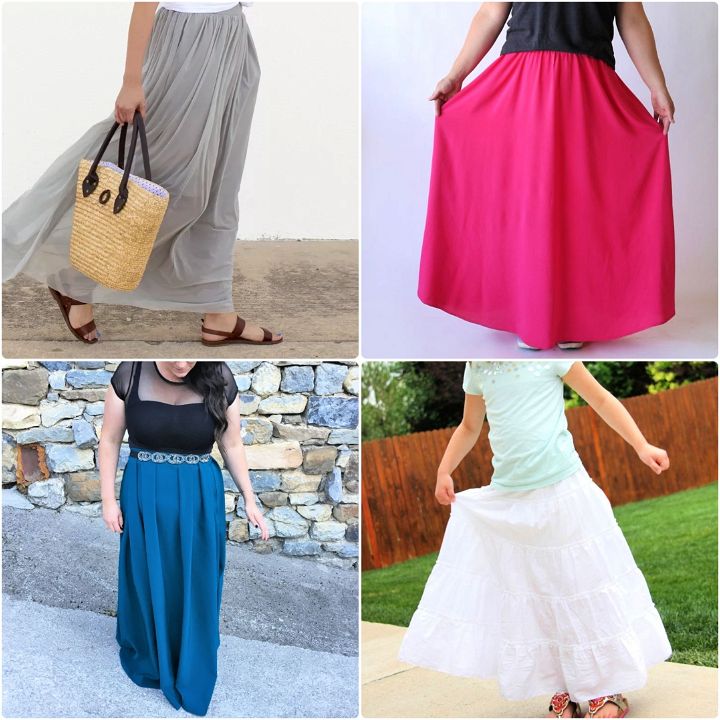
Maxi Skirt Patterns
Free Maxi Skirt Pattern - This free maxi skirt pattern is suitable for both women and girls. Just follow the steps on the image, and you should be ready to go!
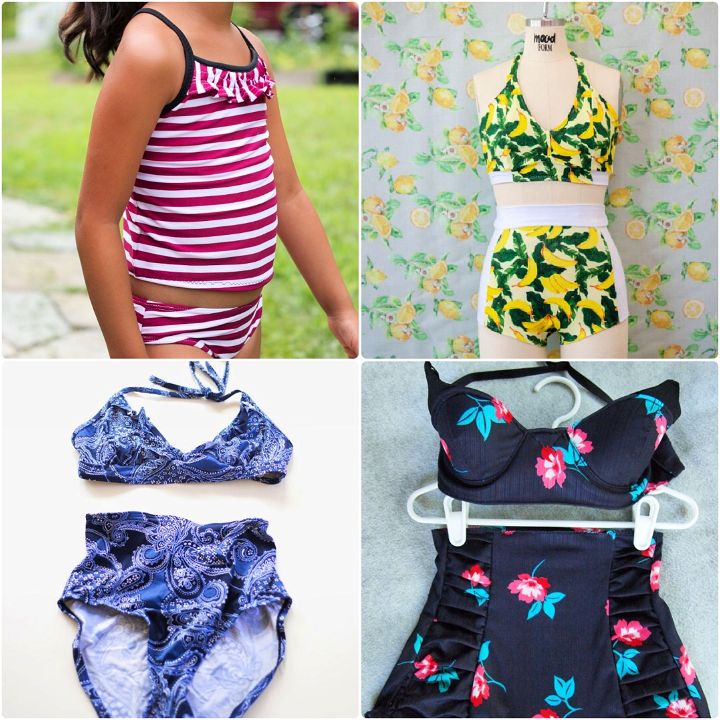
Bikini Sewing Patterns
Looking for a bikini pattern? Find these free bikini and underwear sewing patterns, plus instructional videos and tutorials.
Printable Free Crop Top Sewing Pattern PDF
This free crop top sewing pattern is a great way to show off your curves! The easy-to-follow instructions make it simple to sew a crop top that you'll love to wear.
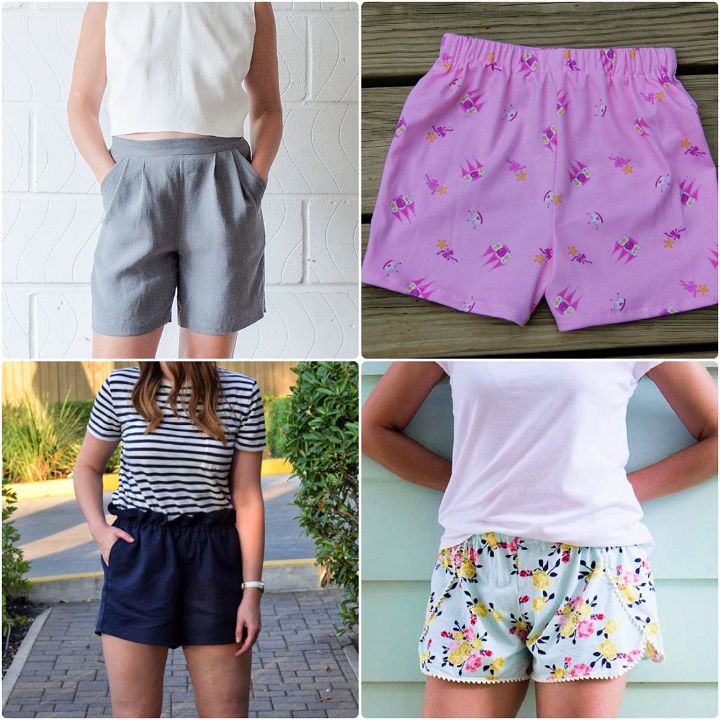
Free Shorts Pattern for Men's and Women's
Looking for a free pattern to sew your own shorts? Look no further! This article features free shorts pattern for both men's and women's. Whether you're a beginner or an experienced sewer, you'll find this pattern easy to follow.
Conclusion:
These will allow you to follow all the emerging fashion trends by staying within your budget and using readily-available materials! With these patterns, you will also learn to make use of all the leftover fabrics in your home, which basically makes following these free sewing patterns for tops even more affordable. So, start getting trendy with us this summer!
Whether you’re a beginner or an experienced sewer, we know you’ll find a pattern in our roundup of free top sewing patterns that will take your sewing skills to the next level. From blouses and t-shirts to crop tops and more, these free sewing patterns for tops are perfect for sewers of all levels.
Related posts: